


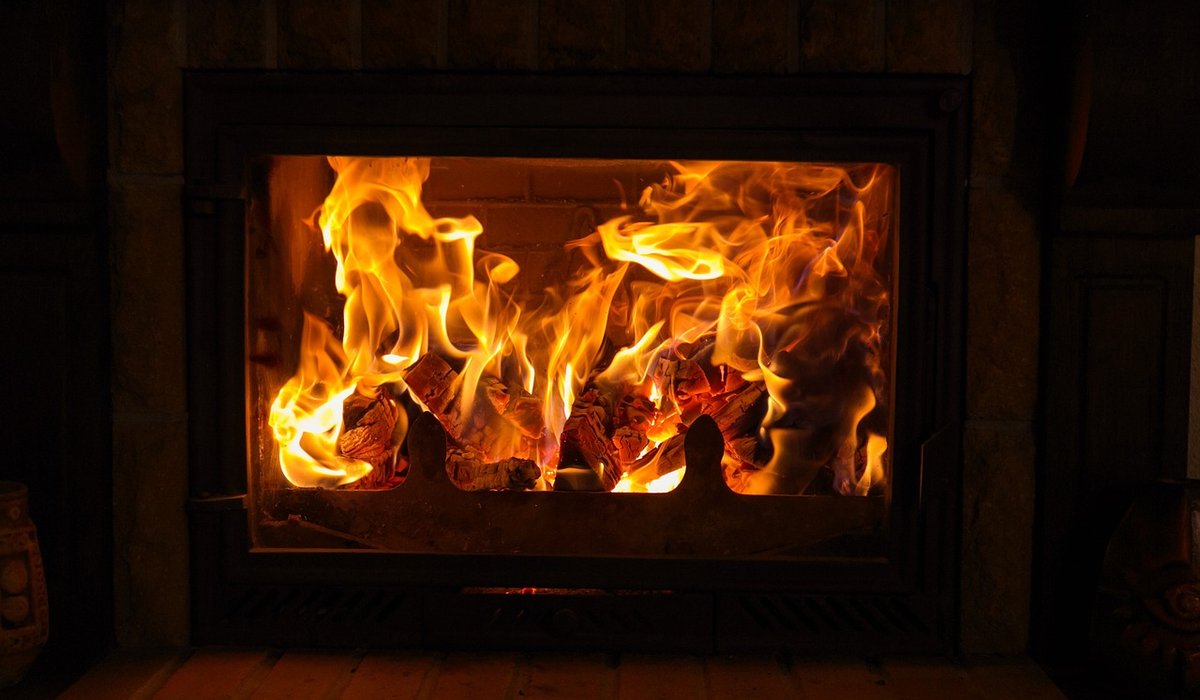
Why a Cast Iron Surround Is Worth the Effort
Cast iron surrounds have a presence that modern reproductions rarely match. They were cast in one piece or in sections, often with decorative detailing that softens beautifully with age, and they will comfortably outlive most of the fittings in your home. Whether you have inherited a Victorian insert, picked one up from a salvage yard, or rescued one from a garden where it has stood for a decade, the restoration process is broadly the same: remove the rust, repair the damage, and protect the metal with a coating designed to cope with heat.
The good news is that cast iron is forgiving. Unlike steel, it rusts slowly and in layers, which means surface corrosion usually hides sound metal underneath. With a few evenings of work and a modest set of tools, most surrounds can be brought back to something you would be proud to have in your front room.
Assessing the Condition Before You Start
Before you touch a wire brush, look closely at what you actually have. Lay the surround flat on a bench or on cardboard in a well-ventilated garage or garden. Work in daylight if you can, because rust and hairline cracks are far easier to spot in natural light.
- Rust: Light orange bloom is straightforward. Deep, flaking corrosion that has eaten into the edges or left pitting will need more aggressive treatment.
- Cracks: Check the corners of the legs, the joints between sections and the area around the fixing holes. A crack under a leg is a structural concern; a crack in a decorative scroll is not.
- Old paint: If the paint is thick, chipped and possibly older than 1980, treat it as potentially lead-based. Buy a lead test swab before you start sanding, and wear a P3 mask and gloves throughout.
- Missing detail: Small broken scrolls, chipped edges and drilled-out fixing holes can all be rebuilt.
Also check how the surround was assembled. Many are held together with bolts, rivets or a central joint, and loosening these before cleaning will make every later stage easier.
Removing Rust and Old Finishes
Start mechanically, then chemically only where you need it. A rotary wire brush in a drill is the quickest way to shift heavy rust and flaking paint, but keep the speed moderate and let the brush do the work rather than pressing hard, which polishes the surface and can round off fine detail.
For intricate casting, work by hand. A needle descaler or a small brass wire brush gets into recesses that a drill cannot reach. Finish with wire wool in grades 00 and then 000, and use emery cloth on flat faces. Brass brushes are preferable to steel on decorative areas because they scratch less.
Once the metal is bare, treat any remaining black rust with a rust converter, which turns iron oxide into a stable, paintable surface. Leave it to cure for the full time stated on the tin, usually 24 hours. Wipe the whole surround down with white spirit to remove dust, oil and fingerprints, then let it dry completely. Do not touch the surface with bare hands after degreasing, as the natural oils in your skin will interfere with paint adhesion.
Repairing Cracks and Missing Detail
Small cracks and chips can be filled with a two-part metal epoxy putty, which sets hard enough to be filed and sanded. Clean the crack back to bare metal, dampen it slightly, then press the putty in firmly and overfill a little. Once cured, file it back flush with a fine file and finish with wet and dry paper used wet, working from 240 up to 600 grit.
For a crack that runs through a leg or a load-bearing section, drilling a small hole at each end of the crack will stop it travelling further, after which the epoxy will hold it. If the piece is badly fractured and the surround carries real weight, it is worth having it brazed or welded by a fabricator who works with cast iron — heating cast iron unevenly can cause it to crack further, so this is not a job for a general-purpose welder.
Missing fixing holes can be filled and re-drilled, but if the surround will be fixed to a wall, it is usually better to add new holes in discreet positions than to rely on tired originals.
Applying Heat-Resistant Paint
Choose a paint rated for high temperatures. A matt or satin black rated to around 600°C is the traditional choice, but heat-resistant enamels in bronze, gunmetal and antique gold are also available and look excellent on period pieces. Brush-on paint gives better control on detailed castings; aerosol gives a smoother finish on flat panels. Many restorers use aerosol for the bulk and a small brush for the recesses.
Apply thin coats rather than one heavy one. Two or three light passes, each left to flash off for 15 to 20 minutes, will give a far better result than a single thick layer, which will sag and dry unevenly. Spray from about 25 centimetres away, in steady sweeps, and rotate the surround rather than reaching around it.
Curing matters as much as painting. Most heat-resistant paints need to be brought up to temperature gradually, so once the surround is refitted, build a series of small fires over several days rather than one roaring blaze. Expect a faint smell and a little smoke during the first burns; open a window and let it pass.
Refitting and Looking After It
Cast iron is heavy, so lift with two people and avoid levering against the hearth. Fix the surround securely to the wall using appropriate anchors for your wall type, and check that the fireback, grate and hearth are all sound while you have access. A surround that sits slightly proud of the wall on packers can be easier to level than one forced flat.
Afterwards, little maintenance is needed. Dust with a soft brush rather than a damp cloth, and touch in any chips promptly with the same paint before rust takes hold. Keep the surround dry, particularly in unused rooms where condensation gathers, and it will serve you for another century.


Leave a reply